There are many reasons why you want to create a subdomain, you can e.g. create a subdomain to use it as a staging environment, develop a new website or connect it to an existing system. In this guide, we go through how to create a subdomain and what are the different ways to do it.
You can either create a subdomain with its own public_html directory or as a sub-directory to the domain.
This is how the paths look depending on how the subdomain is created:
- Own public_html directory:
home/username/domains/subdomän.example.se/public_html/ - Subdirectory:
home/username/domains/example. se/public_html/subdomain/
Subdomain with its own public_html directory
This option is the one we recommend in most cases. This is especially good if you are going to clone or create a staging environment for a Wordpress site or other CMS system.
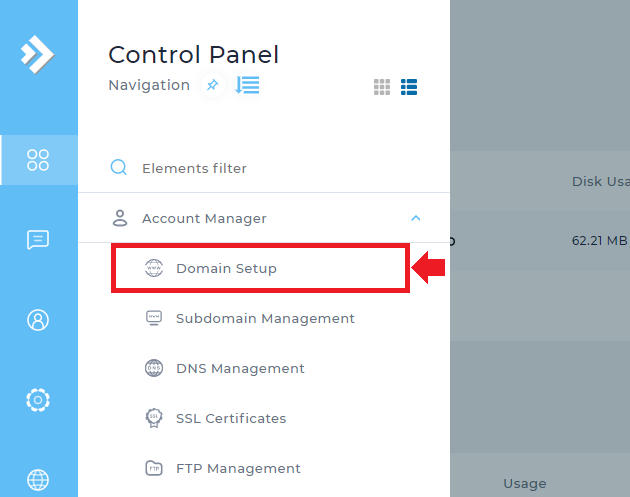
Start by going to Account Manager -> Domain Setup, as shown in the picture below.
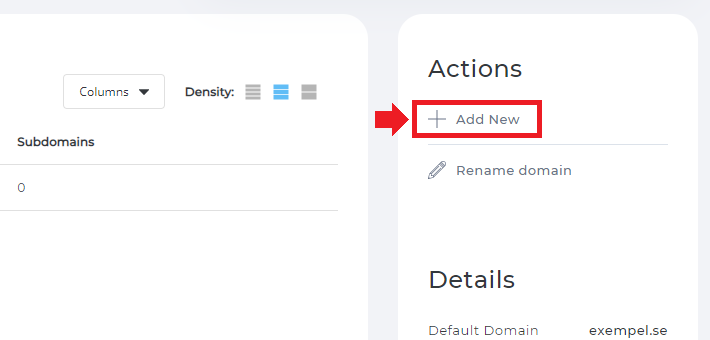
För att skapa en ny subdomän så klickar du på Add New enligt bilden nedan.
Här you now write what the subdomain should be called and specify any restrictions.
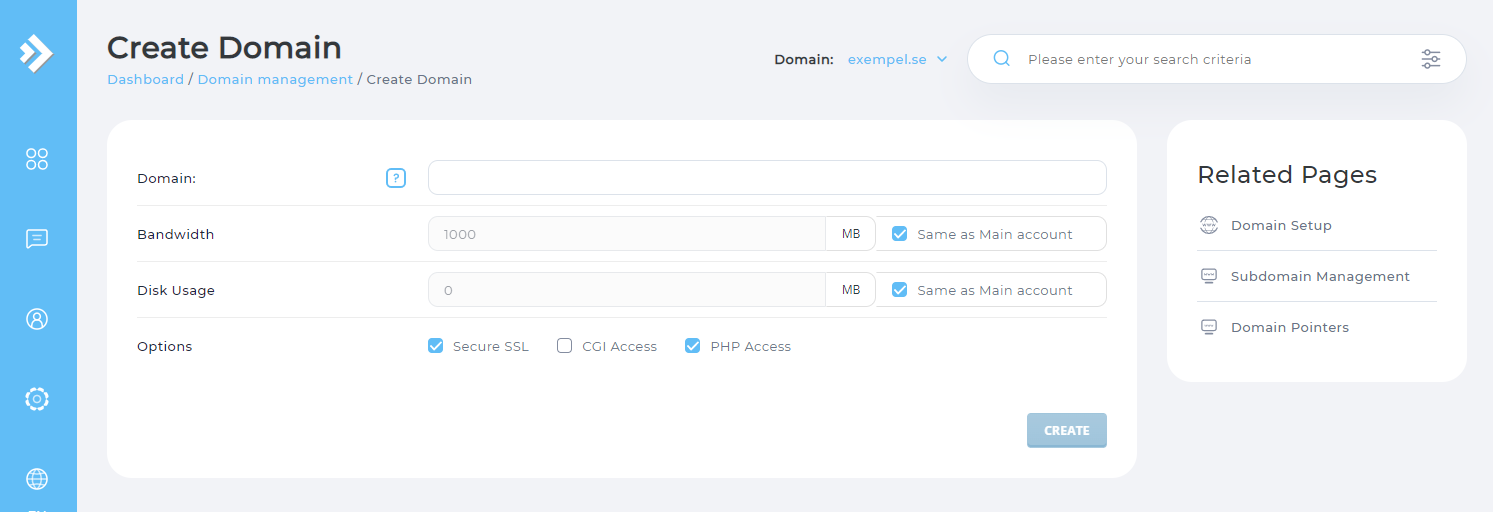
- Domain: Here you specify what the entire subdomain should be called, e.g. ex: subdomain.example.see
-
Bandwidth & Disk Space: Here you can set a limit on how much bandwidth/disk space the subdomain may use.
Same as Main Accountis recommended and can then use the total bandwidth/disk space of the web host. -
Options: Here it is recommended that
Secure SSLandPHP Accessare ticked. CheckCGI Accessif you intend to build an application in Python or NodeJS.
Then click on the Create button and the subdomain will be created.
Subdomain as a Sub-directory
This option can be beneficial if you are building a Multisite Network in WordPress.
BStart by going to Account Manager -> Subdomain Management, as shown in the image below.
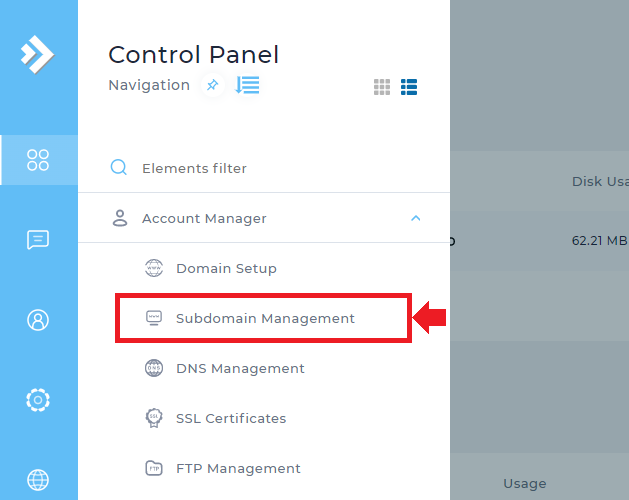
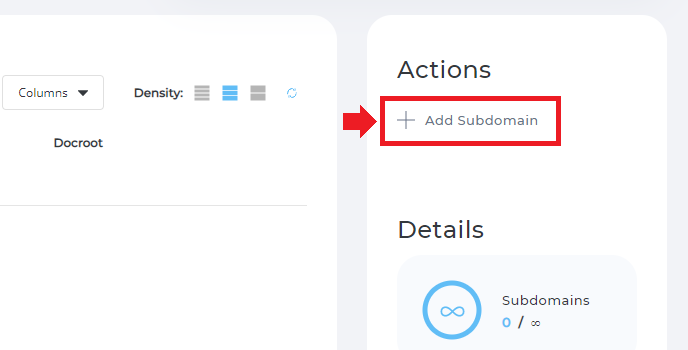
To create a new subdomain, click Add Subdomain according to the image below.
Here you now write what the subdomain should be called. You don`t need to enter the domain name at the end, because it is already on the right side of the field.
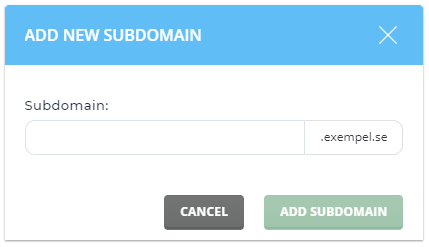
Then click the ADD SUBDOMAIN button and the subdomain will be created.
 English
 Swedish
 French