In this guide we go through how to install your VPN service in Windows.
Start by logging into the customer zone: inleed.se
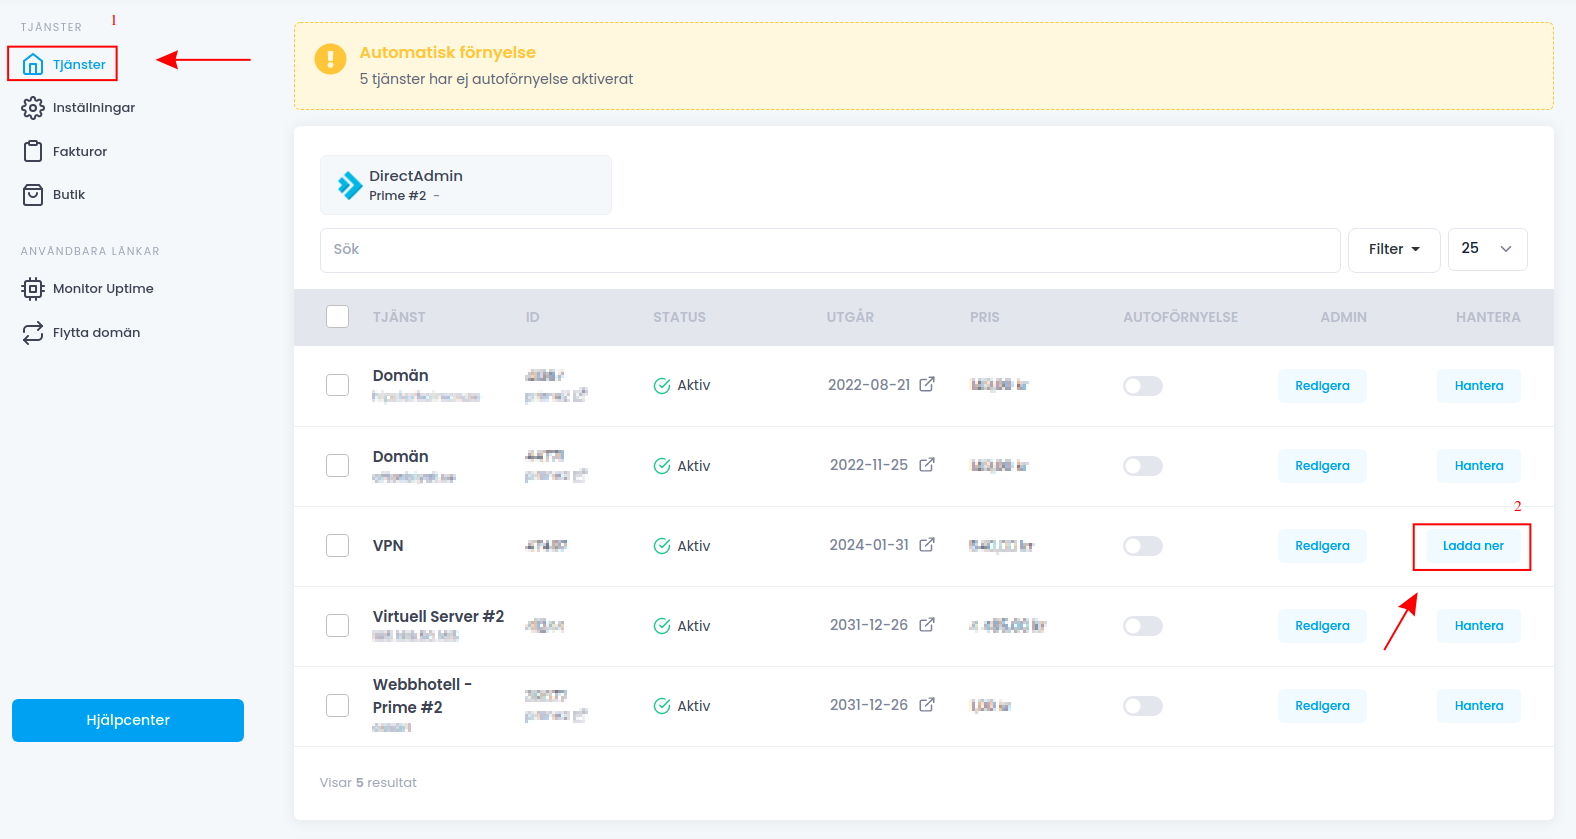
Then click on " Services" and "Download" to the right of your VPN service to download the connection profile for your VPN service. The file contains connection information and is required to make the VPN work.
Then download the OpenVPN Connect software from the link here: OpenVPN-Connect
Open the installation file you just downloaded.
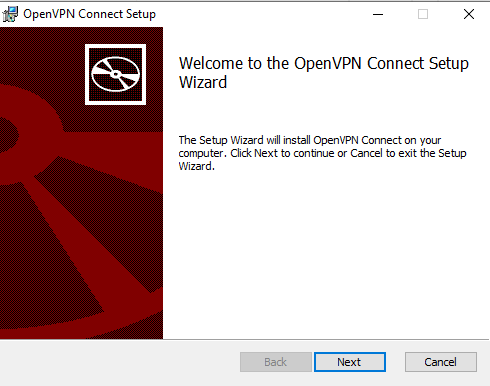
After opening the installation file, click "Next"
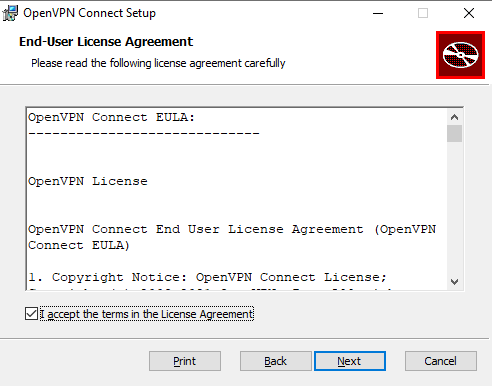
Read the agreement and click in the box "I accept the terms in the License Agreement" and click "Next"
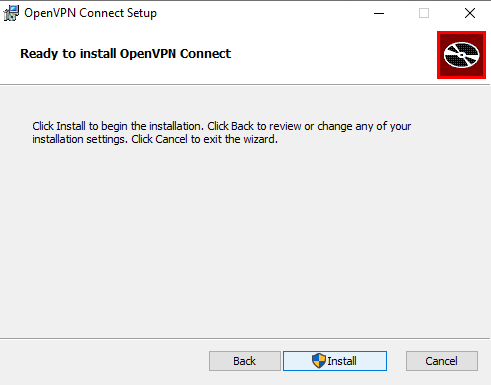
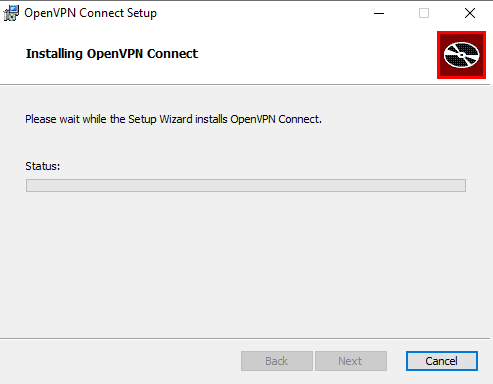
then click " Install"
Approve installation in any firewalls.
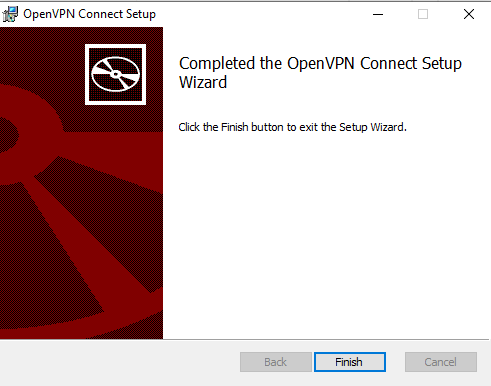
Now the installation is complete. Click on "Finish".
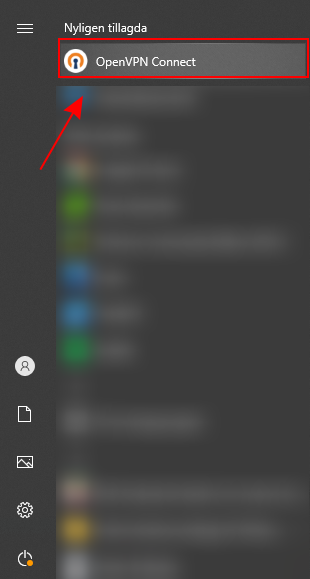
OIf the program does not start automatically after installation, click on the Start menu and then on OpenVPN Connect.
Read the agreement and click "Agree"

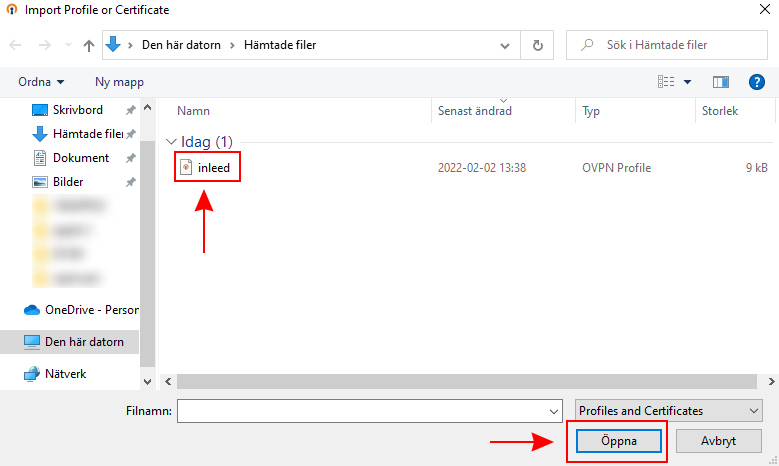
Then click "Browse" and look for the file that you downloaded from the customer zone. The file is called inleed.ovpn.
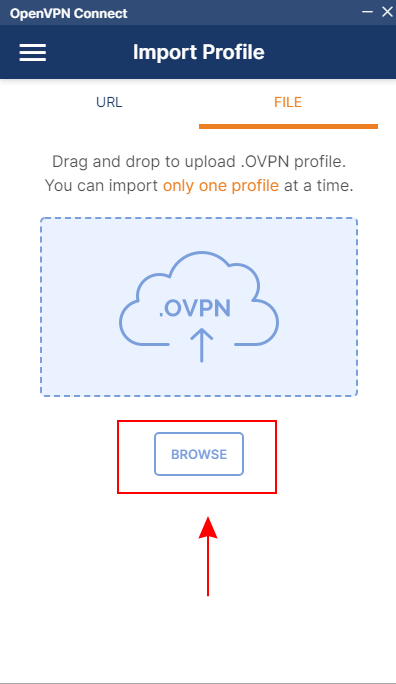
Select the file and click "Open".
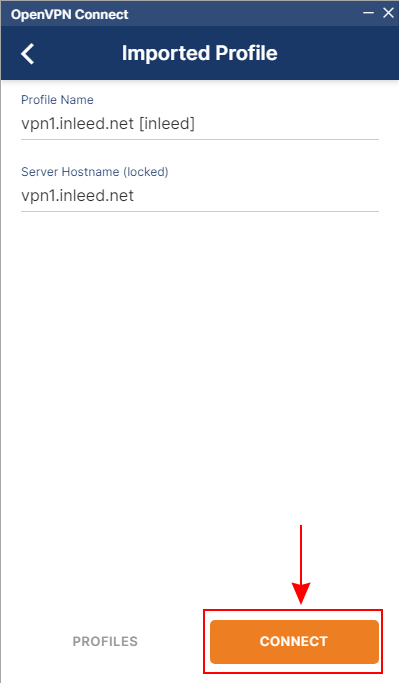
Now the profile imported and ready. Click "Connect" to connect via VPN.
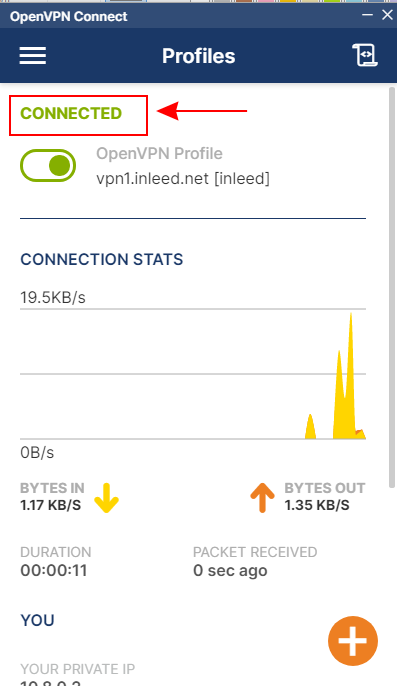
Now you will see the "Connected" status in green. This means that you are now surfing through the VPN.
 English
 Swedish
 French