Log in to Directadmin. If you are not sure how to get here, you can look in this guide.
Then navigate to Extra Features -> Redis Management
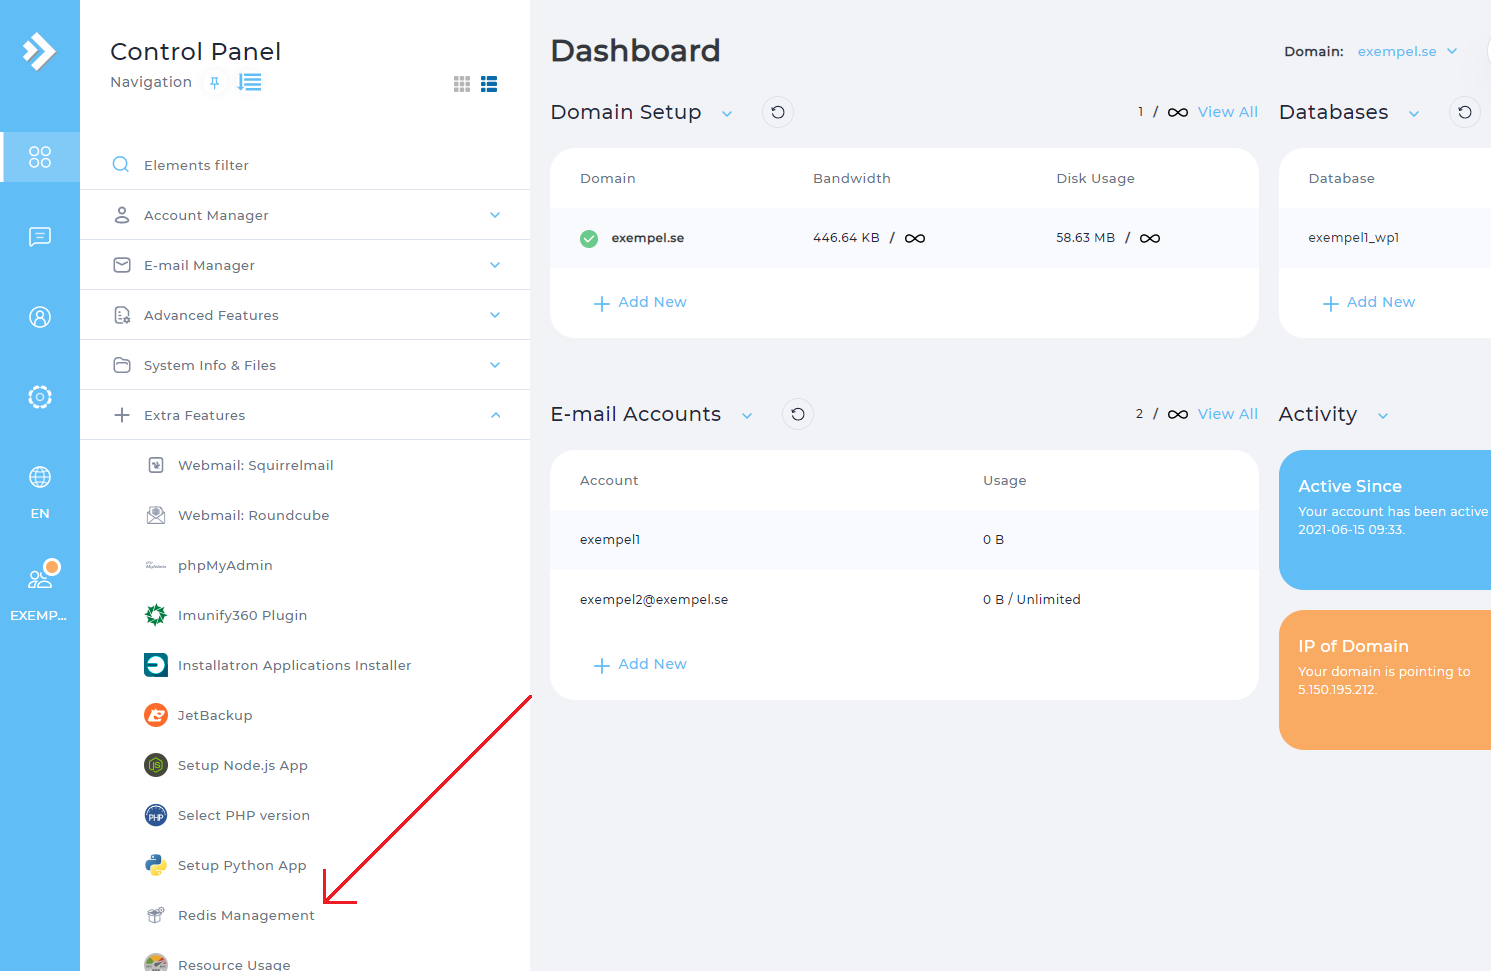
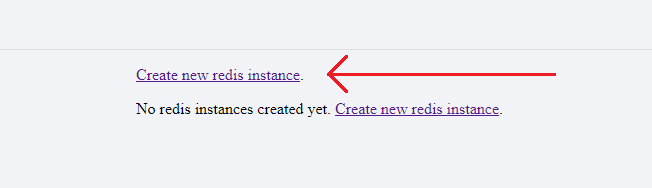
Once there, click Create new redis instance
Now your Redis instance has been created. Copy the information Host, Port and Password and paste into a document.
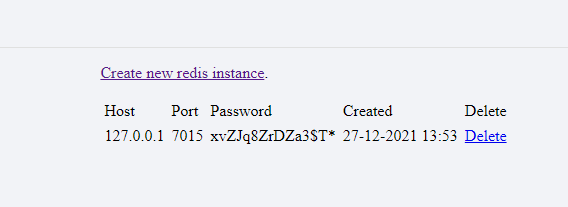
I this case according to the following information
Host - 127.0.0.1
Port - 7015
Password - xvZJq8ZrDZa3$T*
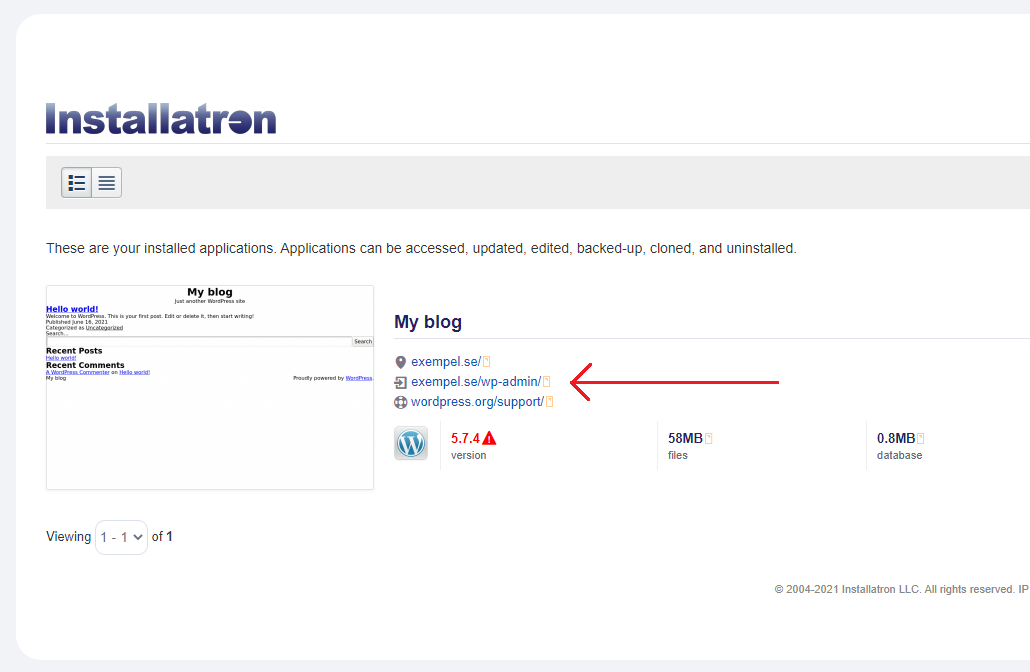
When you have copied the information, it is time to log in to your Wordress installation.
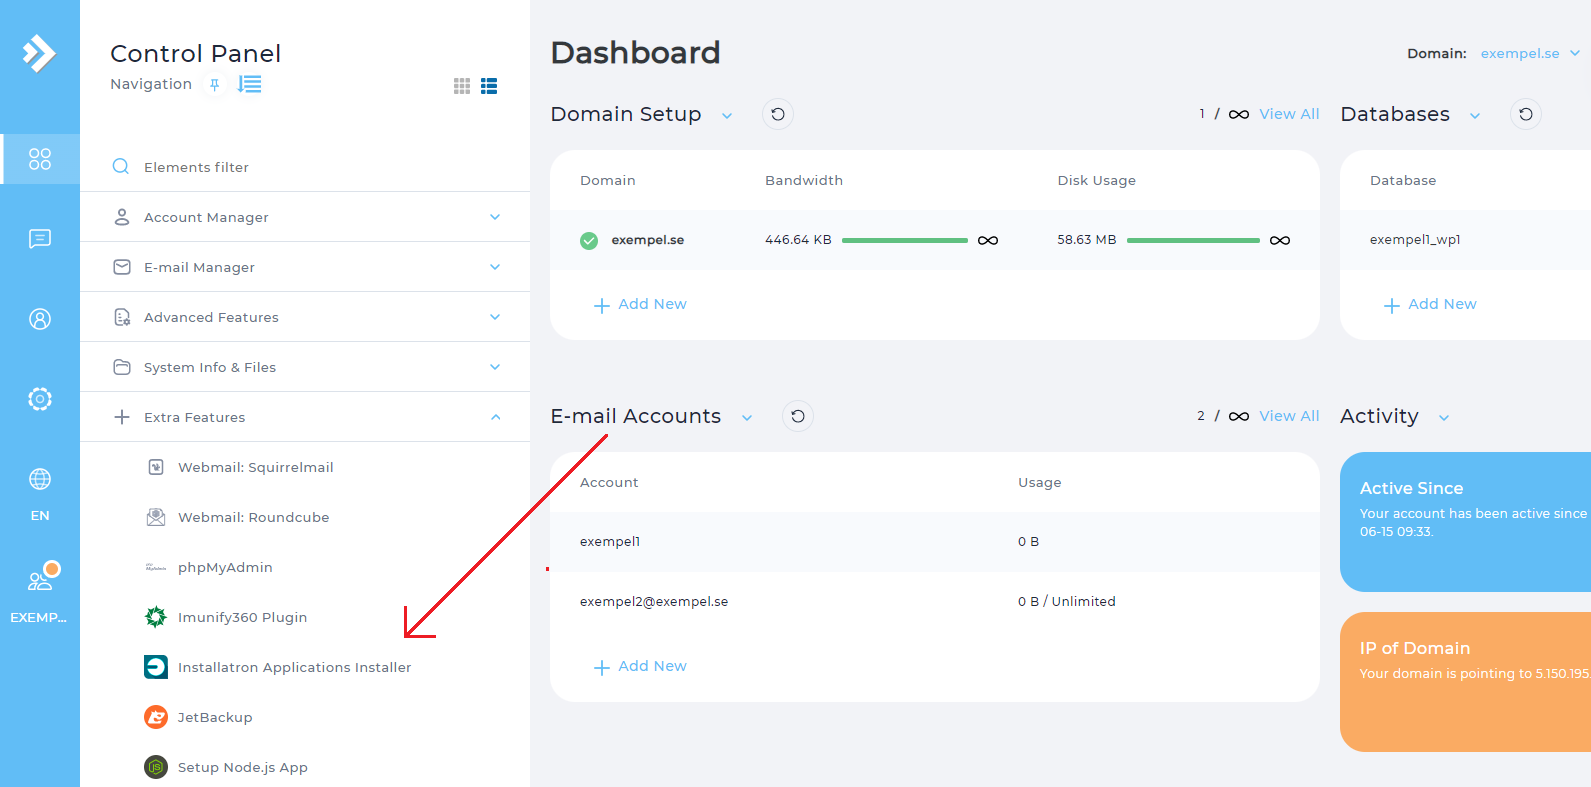
Navigate on to Extra Features -> Installatron Applications Installer
Then log in to the Wordpress installation you intended to install litespeed cache.
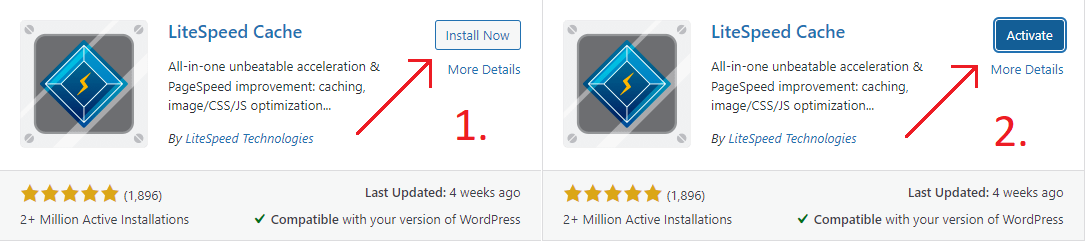
Once logged in to your Wordpress backend, navigate to Plugins -> Add New.

Then search for the Plugin litespeed cache and click Install N ow. When the plugin is installed, click on Activate and then navigate to Settings

When you click on Settings, you change the tab to Object. So this is where you should paste the
information that you got in the previous step when you created your Redis instance. -instance then scroll down and press Save Changes
 English
 Swedish
 French